 I'll post more about this later, but this is a picture of my grandmother when she was in high school. Maybe when she was 16 or so? Her birthday is July 11, 1931, so that would be 1947.
Saturday, August 29, 2015
Gloria Warnick
 I'll post more about this later, but this is a picture of my grandmother when she was in high school. Maybe when she was 16 or so? Her birthday is July 11, 1931, so that would be 1947.
Monday, August 24, 2015
Found You, Fishnets!
So it turns out that one of the designers who I'd bookmarked for Fishnets HADN'T disappeared, just decoupled her Ravelry and her blog. So. I'm archiving it here so I don't lose it again. Source.


Foo Foo Yarn: One hank of Malabrigo laceweight baby merino 3.25mm hook split ring markers darning needle gauge: 44sc in rnd = 8 1/2″ Pattern as is makes a US 9 Women’s. Chain 16, flip the chain, sc into the bottoms bumps for 15 sc, flip the chain again, sc in the top loops for a total of 30 sc in the round. You can mark side sts at either end or eyeball them. The increase sequence is like my other sock toes: round one, work inc before and after each marker. For round two, work even. Work like this until the toe is as wide as you want it, about 1/2 to 3/4″ less than the width of the ball of your foot. When you hit that size, work even until the toe cap is about 2-2 1/2″ deep or desired depth. Netting: starting at the side of your toe cap, chain 4, skip the next 3 sts, sc in next one, ch 4, skip the next 3 sts, sc in the next one, work like this around, don’t worry if you don’t have enough sts for an even set of multiples, just get to the point where you don’t have enough sts left to skip 3, and just work your sc into the ch-4 space that you created previously. These socks are not about obsessively counting, remember, they are about sex and hormones and crocheting on Manitoba’s really crappy, bumpy highways which cause much too much distraction for the proper counting of stitches. Work about 12 rounds of ch-4 netting. Put it on and stretch towards your ankle. If it feels long enough, start working the heel. If not, work a few more rnds of netting. If ch-4 netting feels too tight, try ch-5 instead. Heel: Flatten sock widthwise and work from one side to the other: ch 1, turn, work 25 sc across one side. Ch 1, turn, work 24 sc, stopping short of the last st, leaving it unworked. Ch 1, turn, work 23 sc, stopping short as before. Repeat this row, working one less st, until you have 10 sts left. You should have a little triangle with steps on it. Turn the heel: Ch 1, turn, work across the 10 sc, and, working into the side of this st, and into the next sc below, make a sc2tog. Work a ss into the next side edge below. 11 sc. Turn. Skipping the ss, sc in the 11 sc, and work a sc2tog into the side edge of the 11th sc and the one below, then work a ss into the side edge below that. 12 sc. Turn. Repeat this process until you have “picked up” your original 25 sts. Carry on in netting pattern as before, only this time, ch-5 instead of ch-4. If you didn’t ch 4, then chain 1 more than your number. Work 12 rounds of ch-5 netting, try it on, tug gently to see how it fits – incidentally, it helps if you have a vehicle dash to do this on, as gravity will help you to tug and pull your netting into place. It also makes for interesting facial expressions of the folks in the oncoming lanes of traffic. Continue on, but this time, work the rest of your rounds in ch-6 netting. Do this until your sock, when stretched out, comes almost up to your knee. Next rnd: work one rnd in ch-5 netting Next rnd: work one rnd in ch-4 netting Next rnd: ch 3 (does not count as st), work one dc in each sc, and 4 dc in each chain sp. You may need to fudge to get a number that divides by two. Next rnd: Chain 3 (does not count as st) Work ribbing by working fpdc around first dc in row below, then bpdc in next dc in row below. Work fpdc, bpdc across, join with ss, ch 3. Work two more rnds of dc ribbing, fasten off. Weave in ends and enjoy your socks!!!!
Project ADD
 So while being bored of the knitted underwear project, I thought "hey! I have all the supplies for my Alexander McQueen beaded stockings!" And so I attempted to start it. For one, both of the patterns bookmarked have left the internet. For two, beading takes forever, and 27 of the 500 beads I threaded either didn't fit through the needle or broke. For three, crochet eats yarn so my toe cap work means I have to keep shoving 473 beads farther down the line, over and over again. For four, the new pattern I'm trying for the toe cap (after attempt 1 was a failure) is horrible horrible to work with and with my black, lace-weight yarn, I can't see shit. So it is on pause a mere 2 rows into the attempt.
I wanted happiness and more project ADD, so I started a completely NEW project: a "novelty" crocheted turban from 1915. Posted here. This one is going much better, although the stitch pattern is hilariously time-consuming and yarn-consuming, and the pattern is poorly edited. We shall see how it goes!
Friday, August 21, 2015
Quilted Sweatshirt
At the risk of turning down the dark road of sweatshirt-land in lieu of cozy delightful sweaters, I am interested in making one of these quilted sweatshirts.
 Those are the fashion inspo for a tutorial on making a quilted sweatshirt, found here.
Should I make one? It would be cozy as hell, but with all the quilting, be less flexible, and so would need to be bulky. Which is not the look I try to go for.
Bonus tutorial: homemade shoeslaces out of bias tape. Why did no one think of this before?!
Wednesday, August 19, 2015
Key Qualities
C Major
Completely Pure. Its character is: innocence, simplicity, naïvety, children’s talk.
C Minor
Declaration of love and at the same time the lament of unhappy love. All languishing, longing, sighing of the love-sick soul lies in this key.
Db Major
A leering key, degenerating into grief and rapture. It cannot laugh, but it can smile; it cannot howl, but it can at least grimace its crying.–Consequently only unusual characters and feelings can be brought out in this key.
C# Minor
Penitential lamentation, intimate conversation with God, the friend and help-meet of life; sighs of disappointed friendship and love lie in its radius.
D Major
The key of triumph, of Hallelujahs, of war-cries, of victory-rejoicing. Thus, the inviting symphonies, the marches, holiday songs and heaven-rejoicing choruses are set in this key.
D Minor
Melancholy womanliness, the spleen and humours brood.
Eb Major
The key of love, of devotion, of intimate conversation with God.
D# Minor
Feelings of the anxiety of the soul’s deepest distress, of brooding despair, of blackest depression, of the most gloomy condition of the soul. Every fear, every hesitation of the shuddering heart, breathes out of horrible D# minor. If ghosts could speak, their speech would approximate this key.
E Major
Noisy shouts of joy, laughing pleasure and not yet complete, full delight lies in E Major.
E minor
Naïve, womanly innocent declaration of love, lament without grumbling; sighs accompanied by few tears; this key speaks of the imminent hope of resolving in the pure happiness of C major.
F Major
Complaisance & Calm.
F Minor
Deep depression, funereal lament, groans of misery and longing for the grave.
F# Major
Triumph over difficulty, free sigh of relief uttered when hurdles are surmounted; echo of a soul which has fiercely struggled and finally conquered lies in all uses of this key.
F# Minor
A gloomy key: it tugs at passion as a dog biting a dress. Resentment and discontent are its language.
G Major
Everything rustic, idyllic and lyrical, every calm and satisfied passion, every tender gratitude for true friendship and faithful love,–in a word every gentle and peaceful emotion of the heart is correctly expressed by this key.
G Minor
Discontent, uneasiness, worry about a failed scheme; bad-tempered gnashing of teeth; in a word: resentment and dislike.
Ab Major
Key of the grave. Death, grave, putrefaction, judgment, eternity lie in its radius.
Ab Minor
Grumbler, heart squeezed until it suffocates; wailing lament, difficult struggle; in a word, the color of this key is everything struggling with difficulty.
A Major
This key includes declarations of innocent love, satisfaction with one’s state of affairs; hope of seeing one’s beloved again when parting; youthful cheerfulness and trust in God.
A Minor
Pious womanliness and tenderness of character.
Bb Major
Cheerful love, clear conscience, hope aspiration for a better world.
Bb Minor
A quaint creature, often dressed in the garment of night. It is somewhat surly and very seldom takes on a pleasant countenance. Mocking God and the world; discontented with itself and with everything; preparation for suicide sounds in this key.
B Major
Strongly coloured, announcing wild passions, composed from the most glaring colours. Anger, rage, jealousy, fury, despair and every burden of the heart lies in its sphere.
B Minor
This is as it were the key of patience, of calm awaiting ones’s fate and of submission to divine dispensation.
From Christian Schubart's Ideen zu einer Aesthetik der Tonkunst (1806) translated by Rita Steblin in A History of Key Characteristics in the 18th and Early 19th Centuries. UMI Research Press (1983).
Concert Wear
So my mother emails me, asking if a new jumpsuit on Modcloth is something I'd be interested in for concertwear. My current concertwear is: black silk or black velvet pants (depending on weather), black button up, black cropped tuxedo jacket OR black button up sweater if it's really cold. I took a look at the jumpsuit and a) it isn't worth $130 b) it's all synthetic. Ew. But, the style lines are cute, and it's remarkably similar to the cozitastic housedress/robe that I made this past spring.
So in an endeavor to copy this design, here are the pics. The jumpsuit shown is in teal because it's harder to tell style lines in black.


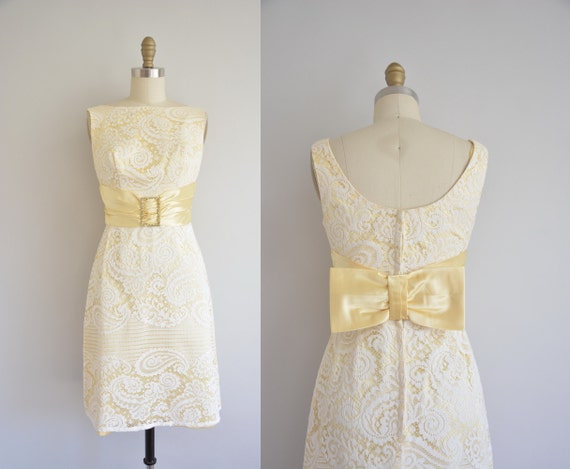
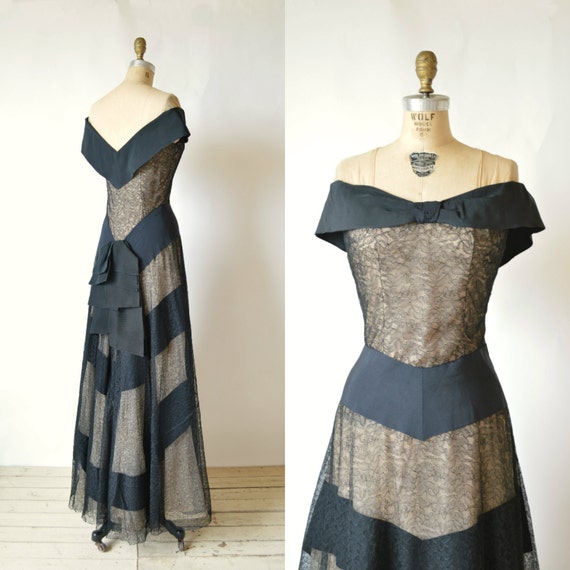
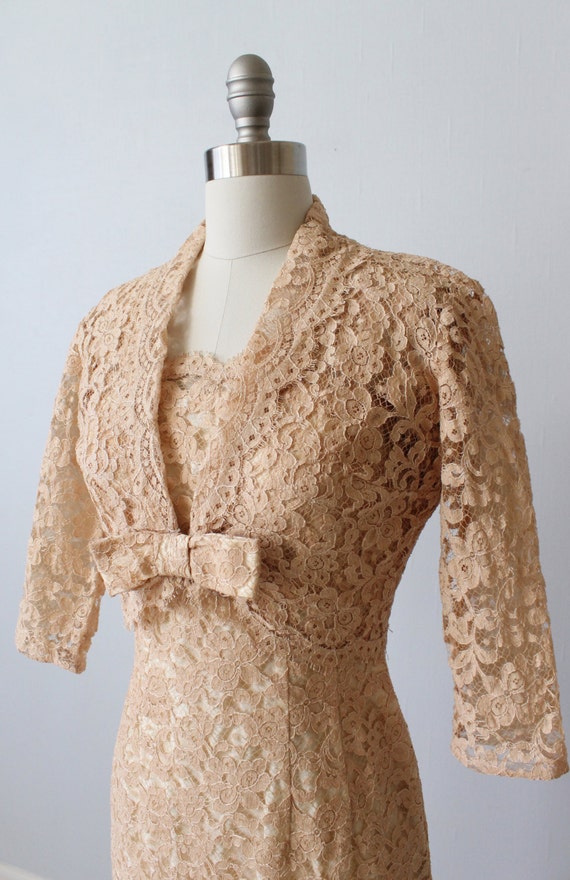
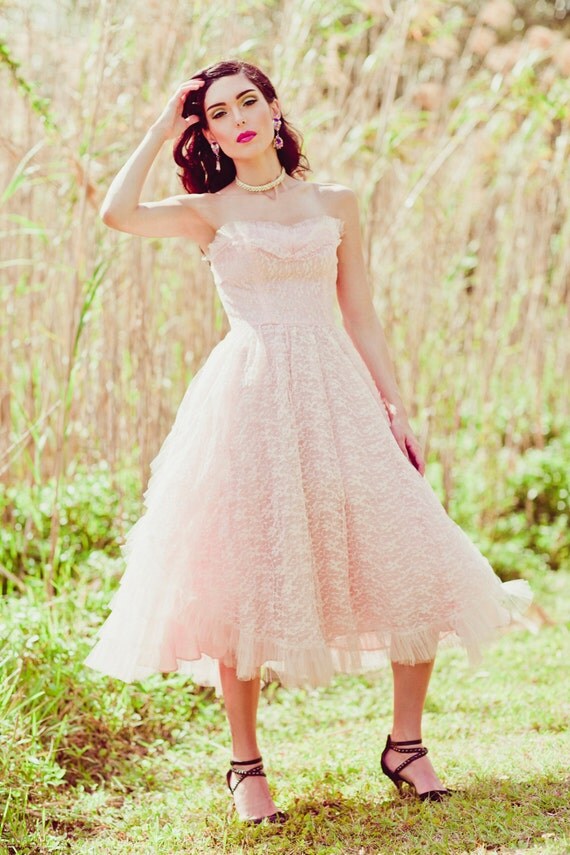
Lace Dress
Monday, August 17, 2015
Music Studio Update
I finally contacted a leader of a music education organization that I'm a part of, to see if they were interested in my group lesson idea. It looks like it might be possible! :-D I'm one step closer to have a small ensemble coaching business with Liz!
Sunday, August 16, 2015
Knitting Project Update
 Finished the first half of the shorts!
 Lookit how pretty it is. :-P
 Above the point is the torso tube seam, below the point is the leg tube seam.
 The elastic for the waistband gets threaded through the YOs here.
Saturday, August 15, 2015
Projects Simmering
 So there are a number of projects that are waiting for supplies, energy, or whatever.
Sewing Projects:
- my flannel "dress pants": I have the supplies, I need to rework the pattern, and just get my gumption up to deal with pants.
- my ex-wedding dress redo: I think I'm going to dye it, I have the dye, I just have to finish sewing the panels and finalize a design. I have all the trim ready. I also need to figure out what's going to happen with the bodice.
- the red wool plaid pinafore: I've been handsewing it, so it is getting off my ass and finishing the hem tape, hemming it, pressing it, pleating it, and figuring out the bodice.
- the purple wool "riding skirt" duplicate: I have this awesomely designed drop-front skirt that is super comfy and amazing. I have the wool (from Dorr Mills, the same as the red plaid), I just need to throw it together. And probably buy lining. Or not!
- my wedding suit: 'nuff said
- my partner's wedding suit: ditto ditto
- more pants for my partner: I have tons of fabric I bought to make pants. I should do that.
- the fur-lined alpaca coat: Yeah, I should finish that guy. I got all bummed out at how shitty handsewing fur is. But I'd like that coat to exist.
- my mother's fur collar: I dunno what the hell I did when I started sewing the lining. It needs to not be doing that.
- curtains for Jennifer: I need the measurements and final design from her.
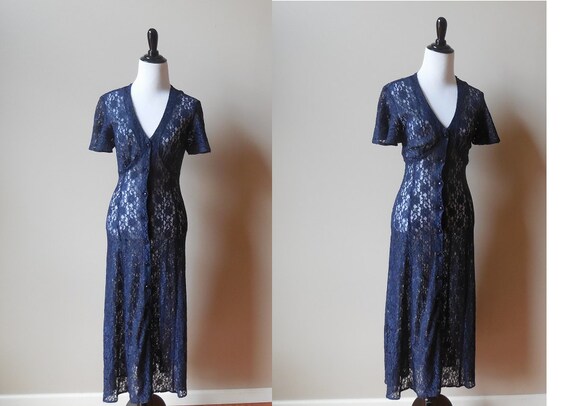
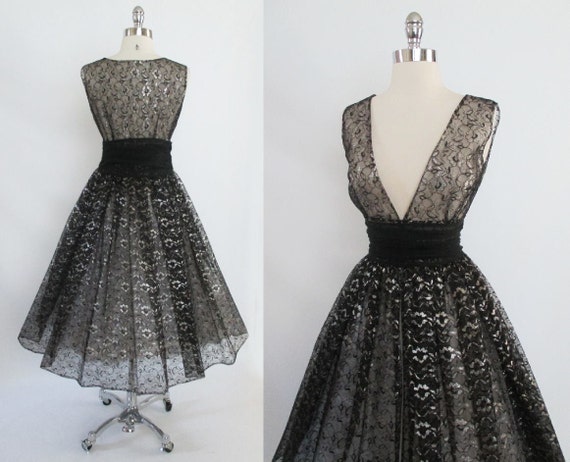
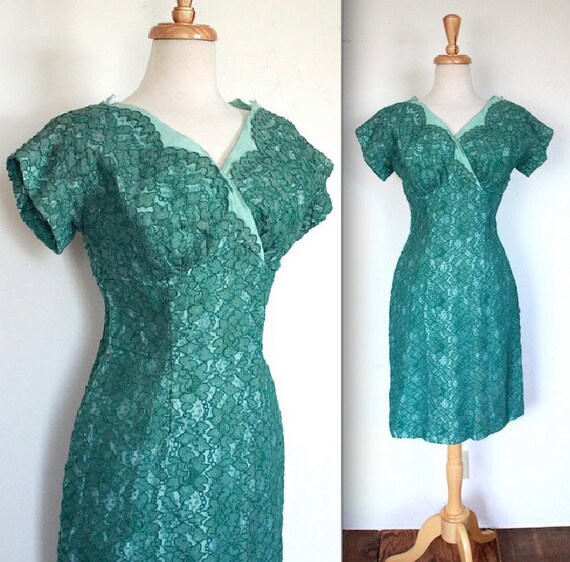
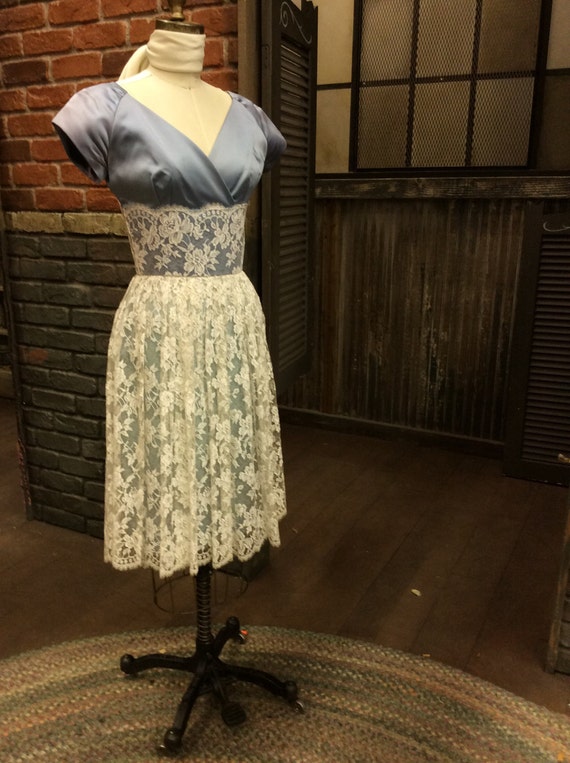
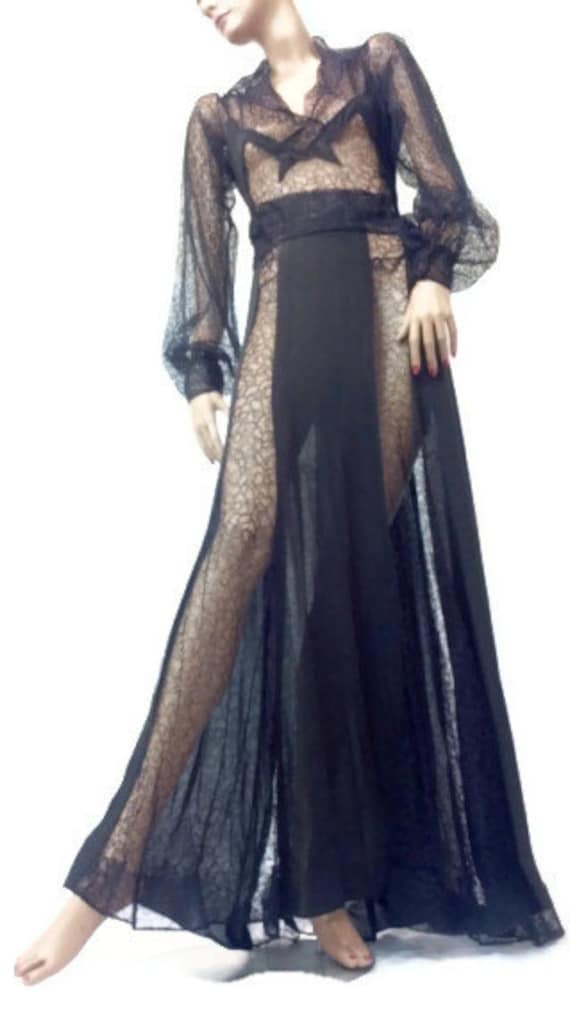
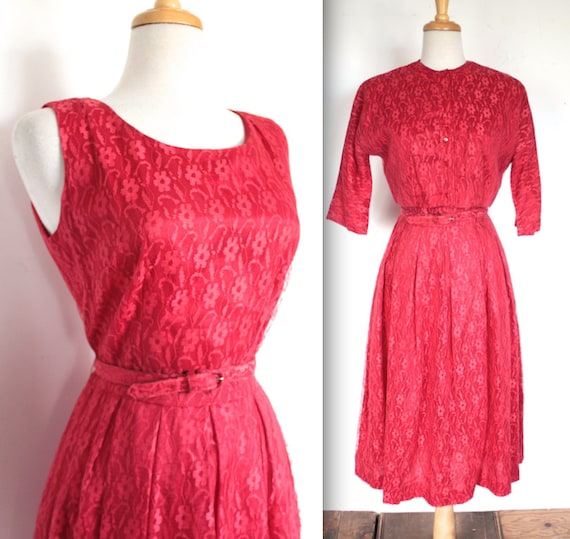
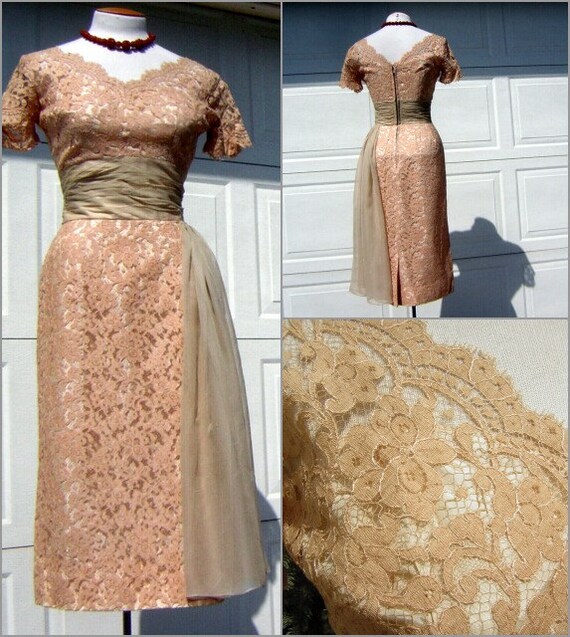
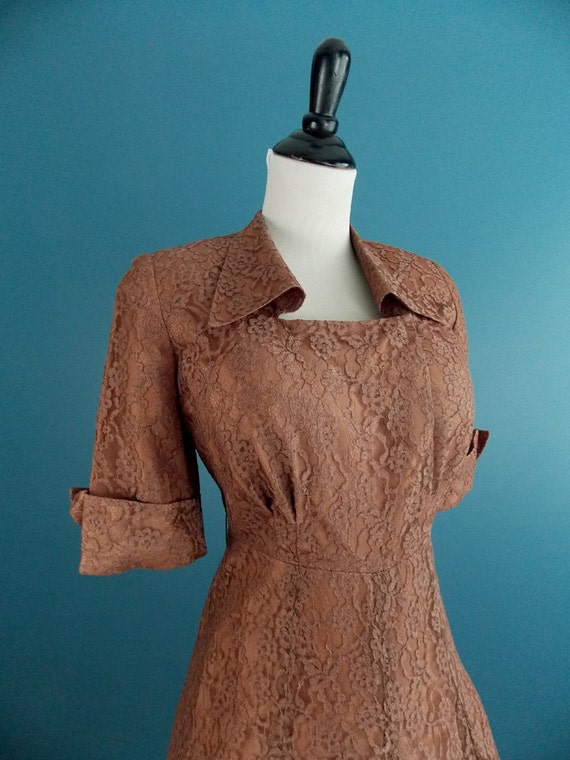
- vintage lace dress: since I'm NOT going to be wearing it to a wedding, what do I want to do with it?
- sheer silk blouses: I need patterns, but I have the supplies. Oooh I can't wait to have them.
- fake fur pillows: self-explanatory
Knitting Projects:
- black cardigan: I need the supplies. I have the pattern.
- white knitted tights: I need the gumption. I have the supplies, but it's such a bitch working on it.
- the "Easy Vintage Sweater" bullshit: I need more navy wool from Michaels. I want that bitch done because it's so fucking stupid.
- the 20s cami/shorts set: I'm nearly done with one of the short pieces and have both of the cami pieces done. Sooooo close! It's just super boring and tiny needles.\
- brown sweater: I want to do a brown fisherman's cardigan/pullover. Like a dark nutty brown.
- beaded sweater: I want to do a beaded, vintage-style sweater.
- pillows: I want to do fair isle pillows.
Crochet Projects:
- baby blanket for Jen: she got married a year ago. Probs gonna have kids.
- baby blanket for Joni: she's getting married. Def gonna have kids.
- baby blanket for Cali: she's getting married. Probs gonna have kids.
- Alexander McQueen beaded stockings: I have the supplies. Need to finalize the pattern and get going.
- my MIL's scarf: I should prob get a nicer yarn for the outer section, and I also want to bead it. Also finish the main body.
- doily for Liz: haven't finished it, and I promised it forever ago.
Thursday, August 13, 2015
Home Sewers versus Costumers
I read a lot of sewing blogs of all varieties, and honestly, I prefer to read costuming blogs. Several reasons are behind this.
One: I got my sewing start from costuming. Making little outfits for dolls and stuffed animals, sewing halloween costumes, and loving fashion history.
Two: They are more interesting! Instead of a million variations on a modern skirt, there are corsets, and bonnets, and shoes, and stockings, and shapewear/undergarments of all types. The wide variety is fascinating to read.
Three: I learn things. I learn more about fashion history, I learn more about period techniques, I learn more about fitting issues.
Four: The costumers use advanced techniques and use embellishment. When was the last time anyone sewed a blouse covered in pintucks? How about lace insertion? Scalloped hem? Beetlewing embroidery? Most of the homesewing is boring, to be quite frank. I'm glad that your dress is comfortable and now fits perfectly. But could you have done something with it more than a mid-length A-line skirt and kimono sleeved, loose-fitting top?
Bah. Kudos to people who sew regularly, but I don't know how they find the enthusiasm for the variations upon a theme that is modern clothing.
Subversive Femme's Tutorial on Removing Pants Darts
Again, in the chance of a disappearing link, here is a quick tutorial from Subversive Femme. This was not written by me, nor photographed by me. Just very useful.
1. To remove the darts, trace around your pattern piece (we never cut the original, right?)2. Redraw the dart lines down to the side edge of the pattern piece, somewhere near the knee area. Keep the same start points on the waist edge.
3. Fold the new dart closed
4. Retrace your new pattern piece, and re-draw the waist so it's even (you can see the faint blue line of where the previous folded piece was).

Saturday, August 8, 2015
Update on Pants
So yet again, I hate pants with a fiery, burning passion. Here is the catalogue of sins for this current pair of pants.
 What the hell is going on with that hem? One pant leg is all borked and crooked, but the other pant leg hangs beautifully. I have yet to make a pair of pants that DOESN'T do this.
I have the zipper facing the wrong direction. This was a problem that started with cutting and meant I had to install the zipper twice, etc. etc.
I installed the zipper in the wrong spot, adding 3" to my front waist measurement. This meant I had to scramble to find a way to remove those inches.
I intended to have extra seam allowance in the normal place along the back for adjustment purposes. Somehow that got scrambled during the chalking out of the pattern and I had extra seam allowance along the side seams. Where the pocket lives. Thus making it useless.
The pockets were a royal pain in the ass, but overall got in there. I need to figure out exactly how to make it so that the side seams are ONE seam, and not 3 short ones navigating the pocket, but that's minor.
The back was completely uneven. The dart, the pocket, and the crease were about an inch closer to the center on one side of the back. I adjusted the back seam on one side in an endeavor to remove the aforementioned 3" and made the back hang a little more evenly.
The pants are baggy and ugly as hell -- I think I'll trim down the sides for the next pair of pants. Either that or I borked my seam allowance, which is also entirely possible.
Misjudged the seam allowance for my flat fell seams, so used the French seams that are sewn down to one side to replicate the flat fell, but perhaps this threw off my seam allowance?
The waistband attachment is an ugly kludge, but whatever. A good pressing, that I am too frustrated to do at this moment, could work that out.
I forgot to include a place on the waistband for the zipper protection flap. Whoops. Look who doesn't care. I'll solve this next time by just cutting the waistband with a few extra inches to spare.
Things that came out reasonably well: the overarching zipper installation isn't terrible. It's one of my better crotches. The back patch pockets turned out well, and my topstitching is pretty. The side pockets aren't bad -- a little blurphly because of the side seam, but the pocket installation went well. The creases are working out well. And it actually fits like it's supposed to, which is a plus.
Thursday, August 6, 2015
Sewing Pants
AKA my least favorite thing to do in the entire world. So I'm working on a wearable muslin of the final pants pattern for my partner, and if something can go wrong, it is going wrong. Firstly, I apparently added the extra 'flap' fabric to the wrong half. No bigs. It just meant that I installed a zipper wrong last night. I threw it on the floor and went to bed.
This morning, I figured I'd get in there with snips and remove the wrong zipper. Did so, and that was when I realized that I had cut the fabric out wrong. Not worried, I don't really care which side the zipper flap is on.
Nearly sewed the wrong side of the zipper to a pant piece, but caught it in time. I had the image in my head from when I had sewn it the opposite direction and nearly repeated the stitching.
Finished the zipper and just going to topstitch the flap when I realize somewhere in all of the shenanigans, one side is higher than the other. Thanks.
Topstitching is crooked. Very few fucks were given. Bar tacks look clean.
I apparently am incapable of putting the zipper where it needs to go, and wound up adding THREE INCHES of room due to faulty zipper application. I'm not taking the zipper back out. Took one inch or so out with the darts and will take the rest out at the side seams.
I'm all happy with the front pieces, finally, when I realize what's next. Back pockets. ...Y'know, I have zero problems with patch pockets on these pants. I'm gonna cheat and do patch pockets. Bam. Will be done easily.
Tuesday, August 4, 2015
Airship of Love
For all that this is the non-musical pursuits blog, I have to say: I FINALLY GOT THE PDF FROM UCLA I'VE BEEN TRYING TO GET SINCE NOVEMBER.
Project Updates
So I've been picking away at working on the suit for my partner. Just cut out a wearable muslin for the pants -- hopefully this is the LAST pants pattern that I'll need to draft. But we wanted to have a pair that he'd wear around and get a better test for fit than a simple muslin. (*sigh) Sometimes he's frustrating to sew for, as he gets cranky about fittings and doesn't seem to care that I put the effort in. Part of that is he's much more indifferent to clothing than I am.
Also threw together the first stage of mockups for the jacket pattern. I only used the basic pattern, there's no collar, no button overlap, etc. But I don't want to go through the trouble of drafting all that if the basic shape doesn't fit. I finished it before he left for work, but he was running late and so we will check the fit this evening. Here's hoping it fits!
In other news, the knitting project I've been working on is going swimmingly. Mysteriously, when one watches all three seasons of Miss Fisher's Murder Mysteries in less than a week, the amount of time that can be devoted to knitting goes up. Project page on ravelry here. I have finished the vest, and am halfway done with one of the knickers legs. A knicker? I had to swap to cream yarn midway through the pattern on the knickers as I will run out of pink. Hopefully I changed in the right place to make it even on the other leg. What's amusing is I have no idea how this will get put together. I hope it'll be obvious once it's complete. I do so like completed projects, and this project sat in my WIP box for several years. I'm looking forward to actually WEARING this this winter.
Subscribe to:
Comments (Atom)


